Introducing the visual network editor (tutorial): Difference between revisions
Jump to navigation
Jump to search
m (moved Graph editor trail to Network editor trail) |
No edit summary |
||
| Line 2: | Line 2: | ||
== Adding nodes and links == | == Adding nodes and links == | ||
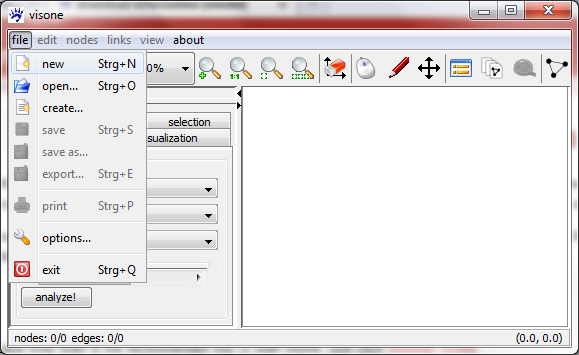
After you have started visone you see its [[GUI|main window]]. To get a network into visone you basically have three possibilities which can all be activated from the [[File_menu|file menu]]. | |||
[[File:Menu_file_new.png]] | |||
# '''open''' allows you to open a network from a local file | |||
# '''create''' let you generate a [[random_networks_generation|random network]] | |||
# '''new''' opens a new empty network - that's what we are going to do now | |||
Revision as of 09:53, 10 December 2010
This trail assumes that you have already downloaded visone and that you can run the program (see the trail on installing visone).
Adding nodes and links
After you have started visone you see its main window. To get a network into visone you basically have three possibilities which can all be activated from the file menu.

- open allows you to open a network from a local file
- create let you generate a random network
- new opens a new empty network - that's what we are going to do now